Brother printers are known for their reliability and efficiency, making them popular for home and office use. One of the critical features of these printers is the ability to connect to WiFi, allowing users to print wirelessly from various devices such as laptops, smartphones, and tablets. If you’re wondering how to connect Brother printer to WiFi, this comprehensive guide will walk you through the entire process. Whether you’re setting up a Brother printer for the first time or reconnecting it to a new WiFi network, we have you covered.
Why Connect Your Brother Printer to WiFi?
Contents
Before we dive into the steps to connect Brother printer to WiFi, it’s essential to understand why this feature is beneficial. Wireless printing offers several advantages:
- Convenience: You can print from anywhere within the WiFi range, whether in another room or on another floor.
- Multiple Devices: Wireless printers allow various devices to connect and send print jobs without physical connections.
- Efficient Workspace: Reducing cables and clutter can create a more organized and productive work environment.
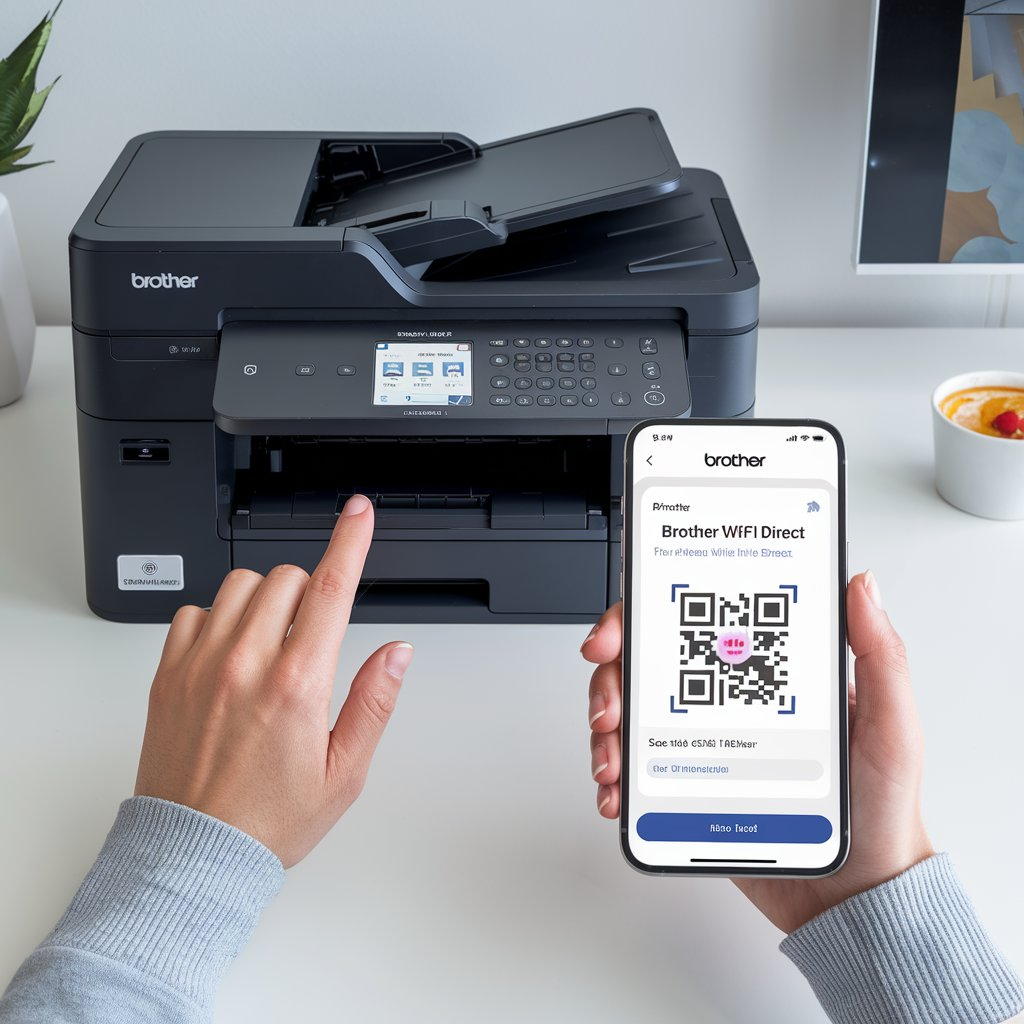
- Mobile Printing: Many Brother printers support printing directly from mobile devices through WiFi, enhancing accessibility and convenience.
Now that we understand why connecting a Brother printer to WiFi is beneficial let’s proceed to the next steps.
Step-by-Step Guide: How to Connect Brother Printer to WiFi
Gather Your Network Information
Before you start the process of how to connect Brother printer to WiFi, make sure you have the following information:
- WiFi Network Name (SSID): This is the name of the WiFi network you want to connect to.
- WiFi Password: This is the password for your network.
Having this knowledge at your disposal will expedite and streamline the process.
Power On Your Brother Printer
Ensure your Brother printer is powered on before connecting it to WiFi. Remove any protective packaging if the printer is new, and install the ink cartridges. Once the printer is set up, you’re ready to proceed with connecting it to WiFi.
Access the Printer’s Control Panel
To begin the WiFi connection process, you’ll need to access the control panel of your Brother printer. Most Brother printers have a touchscreen display, while others may have buttons for navigation. This step will vary slightly depending on your printer model, but the general process remains the same for how to connect Brother printer to WiFi.
Navigate through the menu and find the “Settings” or “Network” option. Select “WiFi Setup” or “Wireless Setup Wizard” from the menu.
Select Your WiFi Network
Once in the WiFi setup menu, your printer will search for available WiFi networks. When the list of networks appears, choose your WiFi network (SSID) from the list. This step is crucial in how to connect Brother printer to WiFi, as selecting the wrong network will prevent the connection from being established.
If your WiFi network is not listed, ensure your printer is within range of the router, and the WiFi signal is strong.
Enter Your WiFi Password
After selecting your WiFi network, the printer will prompt you to enter the WiFi password. Use the on-screen keyboard or keypad to type in the correct password carefully. Double-check the password to avoid errors, as incorrect entries will cause the connection to fail. This step is vital to understanding how to successfully connect the Brother printer to WiFi.
Once you enter the password, confirm it, and your Brother printer will attempt to connect to the WiFi network.
Confirm the Connection
After the printer has connected to the WiFi network, you will see a confirmation message on the control panel display. If the connection is successful, the printer will display “Connected” or “Connection Successful.” This is the final confirmation on how to connect Brother printer to WiFi.
If the connection fails, the printer may display an error message. In this case, check your WiFi password and try again. It’s also essential to ensure that your router is functioning correctly and that the WiFi signal is strong.
Install Printer Drivers on Your Devices
Now that your Brother printer is connected to WiFi, you must install the appropriate printer drivers on your computer, laptop, or mobile device to complete the setup. Brother offers printer drivers that can be downloaded from their official website.
Go to Brother’s website, locate the “Support” section, and enter your printer model. Download and install the correct drivers for your operating system. This step is essential in ensuring that your devices can communicate with the printer over WiFi, finalizing how to connect Brother printer to WiFi.

Troubleshooting WiFi Connection Issues
If you’ve followed all the steps for connecting your Brother printer to WiFi but still encounter issues, don’t worry. Joint problems can occur, and straightforward solutions can resolve them.
Incorrect WiFi Password
One of the most common issues in how to connect Brother printer to WiFi is entering the wrong WiFi password. Double-check the password and ensure it’s entered correctly on the printer’s control panel.
Weak WiFi Signal
If your printer is far from the router, the WiFi signal may need to be more robust to establish a stable connection. Try moving the printer closer to the router and repeating the steps for connecting the Brother printer to WiFi.
Printer Not Detecting WiFi Network
If the printer is not detecting your WiFi network, ensure that the WiFi network is broadcasting its SSID and that the router is functioning correctly. You can also try restarting both the router and the printer before attempting to reconnect.
Network Interference
Wireless networks can experience interference from other electronic devices or networks in the area. If you’re having trouble with how to connect Brother printer to WiFi, try changing the WiFi channel on your router to reduce interference.
Firmware Update
Sometimes, outdated printer firmware can cause connectivity issues. Visit the Brother website and check if there’s a firmware update available for your printer model. Updating the firmware can often resolve problems with how to connect Brother printer to WiFi.
Conclusion
Learning how to connect Brother printer to WiFi is a simple process that allows you to enjoy the convenience of wireless printing. Following the steps outlined in this guide, you can quickly connect your Brother printer to your WiFi network and start printing from any device. The process remains essentially the same whether you’re using a Windows computer, Mac, or mobile devicesame. If you encounter any issues, refer to the troubleshooting tips to resolve common problems. With your Brother printer connected to WiFi, you’ll experience the freedom and efficiency of wireless printing in no time!


